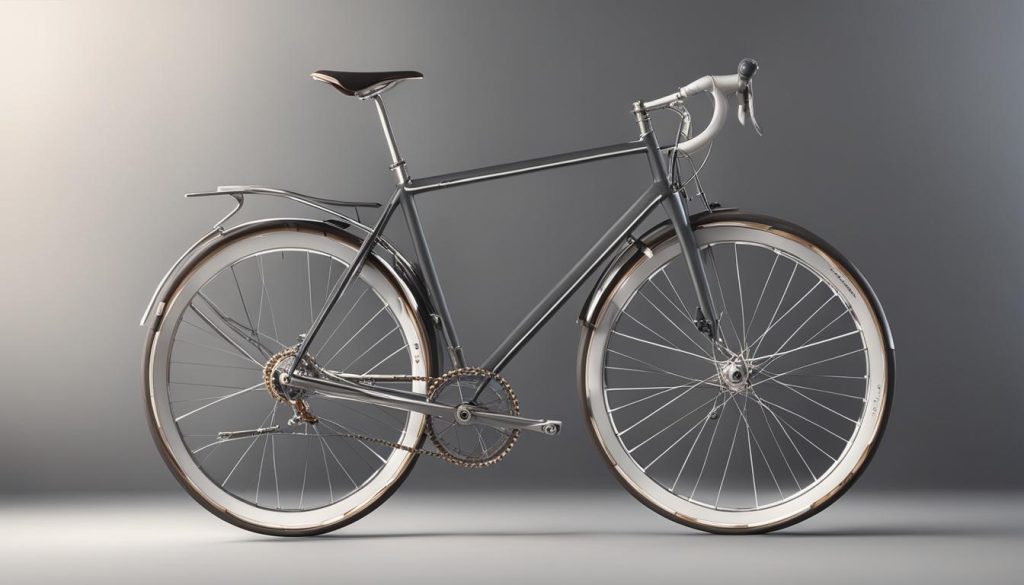
Learn how to draw a bike with this easy step-by-step guide. Whether you’re a beginner or an experienced artist, these instructions will help you create a great-looking bike drawing. Bicycles have been a popular means of transportation for centuries, and now you can capture their essence on paper. Just follow the simple steps outlined below and watch as your bike drawing comes to life.
Read More : Uncover the Perfect Fit: How to Measure Bike Size with Ease
Key Takeaways:
- Follow the step-by-step instructions to easily draw a bike.
- Practice shading techniques to add depth and dimension to your drawing.
- Observe real bikes to understand proportions and details for more realistic drawings.
- Experiment with different angles and perspectives to make your bike sketches dynamic.
- Have fun and add your own personal style to your bike drawings.
Bike Drawing Techniques for Beginners
Are you a beginner artist looking to learn how to draw a bike? Look no further! In this section, we will guide you through some easy bike drawing techniques that will help you create impressive bike drawings, even if you’re just starting out.

Step 1: Start with the basic shapes
Begin your bike drawing by sketching the basic shapes that make up the bike’s frame, wheels, and handlebars. Use simple geometric shapes like circles, ovals, and rectangles to outline the different parts of the bike. This will serve as the foundation for the rest of your drawing.
Step 2: Add in the details
Once you have the basic shapes in place, it’s time to add in the details that will bring your bike drawing to life. Pay attention to the proportions and angles of the different parts of the bike. Use reference images or real-life bikes to guide you in adding the correct details such as spokes, pedals, and gears.
“The details make the difference in any drawing, especially when it comes to bike drawings. Take your time and pay attention to the little things. They will elevate your artwork and make it more realistic.”
Step 3: Use shading techniques
To add depth and dimension to your bike drawing, use shading techniques. Start by determining the direction of the light source and add darker shades to the areas that are further away from the light. Use hatching or crosshatching to create textures like shadows and reflections. Experiment with different shading techniques to achieve the desired effect.
Drawing Materials
If you’re a beginner, you may be wondering what materials you need to get started with bike drawing. Here are some essential drawing materials:
- Pencils: Use a range of pencils from 2H (light) to 6B (dark) to achieve different shades and textures.
- Eraser: A good quality eraser will help you correct mistakes and smudges in your drawing.
- Paper: Choose a smooth, heavyweight paper that can withstand pencil marks and erasures.
- Reference Images: Have some reference images or real-life bikes to guide you in adding accurate details.
With these easy bike drawing techniques and the right materials, you’ll be able to create stunning bike drawings, even if you’re a beginner. Practice regularly and have fun with your drawings, and soon you’ll be able to capture the beauty of bicycles on paper!
| Table Title | Table Title | Table Title |
|---|---|---|
| Table Data 1 | Table Data 2 | Table Data 3 |
| Table Data 4 | Table Data 5 | Table Data 6 |
Bike Sketching Tips and Doodle Tutorial
Adding a personal touch to your bike sketches can make them truly unique and reflective of your style. Here are some bike sketching tips and a doodle tutorial to help you create captivating drawings:
1. Observe and Analyze
Begin by studying real bikes to understand their proportions and details. Take note of the angles, curves, and intricate elements that make each bike design distinct. This observation will help you accurately represent bikes in your sketches and capture their essence.
2. Experiment with Strokes
Use different pencil strokes to add texture and depth to your bike sketches. Experiment with hatching, cross-hatching, and shading techniques to create shadows and highlights. Varying your strokes will bring your sketches to life and make them visually engaging.
3. Play with Perspectives
Don’t be afraid to experiment with different angles and perspectives in your bike sketches. You can draw the bike from the top, side, or three-quarter view to showcase its unique features. Playing with perspectives will add dynamism and visual interest to your sketches.
4. Add Doodles for Fun
Once you’ve sketched the main bike, feel free to embellish your drawing with doodles and patterns that reflect your personality. You can add flowers, swirls, or other decorative elements around the bike to make it more whimsical and artistic.
Remember, bike sketching is about embracing your creativity and having fun. Don’t worry about making everything perfect; the imperfections can give your drawings character and charm.
Now, let’s put these tips into practice with a simple doodle tutorial. Follow the steps below:
- Start by drawing the basic shape of a bike using light pencil strokes.
- Add the wheels, handlebars, and frame, paying attention to the proportions and angles.
- Once you have the main structure, use different pencil strokes to add shading and texture.
- Finally, let your imagination run wild and add doodles and patterns around the bike to personalize your sketch.
Remember, practice makes perfect. Keep honing your bike sketching skills and explore different styles and techniques to create captivating and unique drawings.

Table 1: Essential Materials for Bike Sketching
| Material | Description |
|---|---|
| Pencil | Use a range of pencils, from HB to 6B, for different shades and textures. |
| Sketchbook | Choose a sketchbook with good quality paper to ensure smooth and precise lines. |
| Eraser | Have a kneaded eraser for correcting mistakes and a small precision eraser for fine details. |
| Fineliner | Use a fine-tip pen for adding intricate details and outlining your sketches. |
| Colored Pencils | Consider adding colored pencils to your toolkit for adding vibrant touches to your bike sketches. |
Conclusion
Drawing a bicycle is a rewarding artistic endeavor that allows you to showcase your creativity and love for cycling. By following the step-by-step instructions and implementing the techniques and tips outlined in this guide, you’ll be able to create impressive bike drawings.
Remember to practice regularly and have fun with your drawings. Whether you’re a beginner or an experienced artist, drawing a bicycle is a great way to challenge yourself and improve your drawing skills.
So grab your pencil and paper, and start drawing your own bike masterpiece today!
FAQ
Can anyone learn how to draw a bike?
Yes! Whether you’re a beginner or an experienced artist, these step-by-step instructions will help you create a great-looking bike drawing.
How do I start drawing a bike?
Begin by drawing the basic shapes of the bike, then add in the details such as the wheels, frame, and handlebars. The guide provides detailed instructions on how to do this.
Do I need any special tools to draw a bike?
All you need is a pencil and paper to get started. However, you can experiment with different shading techniques and textures using various pencils and drawing tools if you wish.
How can I make my bike drawing look more realistic?
You can achieve realism by using light and dark shading techniques to give your drawing depth and dimension. Observing real bikes and adding texture to your sketches can also help make your drawing more realistic.
Can I add my own style to my bike drawing?
Absolutely! Don’t be afraid to add your own personal style and flair to your sketches. Drawing a bike is a creative endeavor, and you can showcase your individuality through your artwork.
Is drawing a bike a good way to improve my drawing skills?
Yes, drawing a bicycle is a great way to challenge yourself and improve your drawing skills. Whether you’re a beginner or an experienced artist, this guide provides techniques and tips that will help you enhance your drawing abilities.
How often should I practice drawing a bike?
Regular practice is key to improving your drawing skills. Dedicate time to practice drawing a bike regularly, and you’ll see progress over time.

