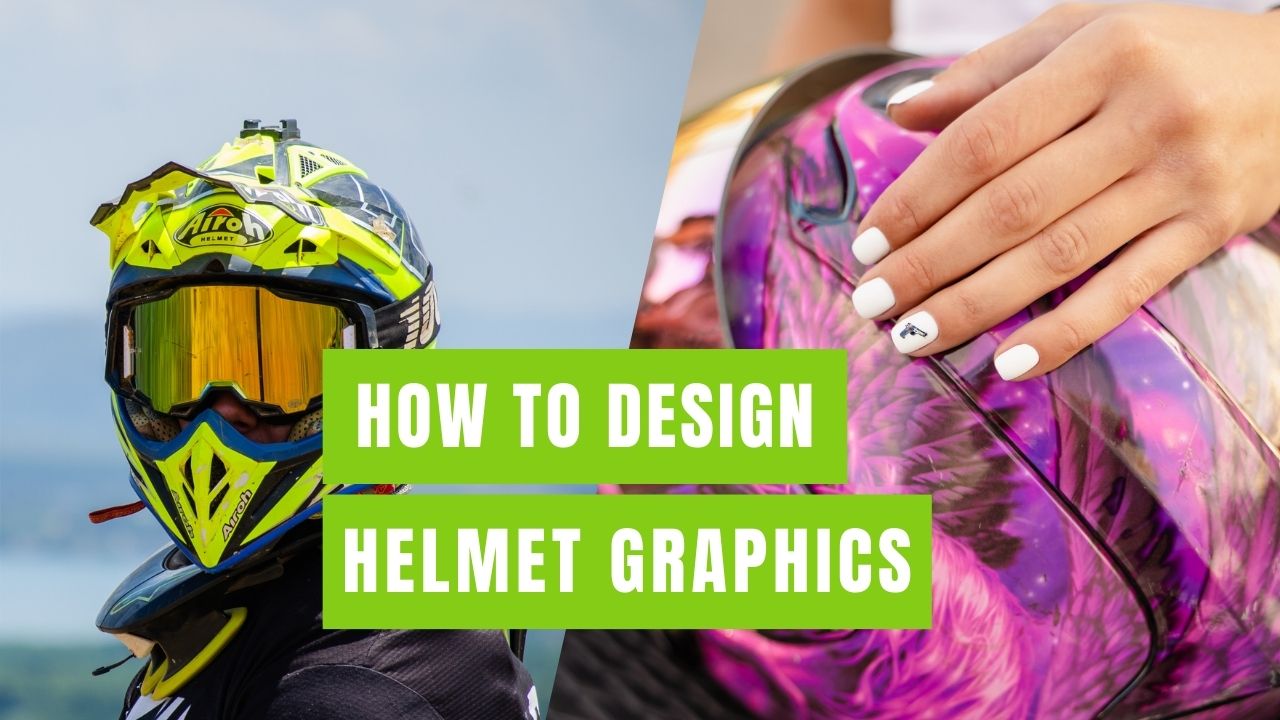
Designing helmet graphics allows you to personalize your helmet and make a statement while ensuring it remains safe and functional. Whether you’re customizing a motorcycle helmet, a cycling helmet, or a sports helmet, here’s a step-by-step guide to help you create eye-catching and unique designs.
1. Research and Inspiration
Before diving into the design process, gather inspiration and research existing helmet designs:
- Browse Online: Look at helmet designs across various sports and styles. Websites like Pinterest, Instagram, and helmet manufacturer galleries are great sources.
- Visit Local Shops: Check out local helmet customization shops or stores to see designs up close.
- Consider Safety: Remember that the design should not compromise the visibility of safety features like reflective elements or certification labels.
2. Choose Your Design Tools
Select the tools and software you’ll use to create your helmet graphics:
- Graphic Design Software: Adobe Photoshop, Illustrator, or free alternatives like GIMP or Inkscape are suitable for digital designs.
- Sketching Supplies: Pencils, markers, and paper for sketching ideas if you prefer a hand-drawn approach.
- Templates: Some helmet manufacturers provide templates for their helmets, which can be downloaded and used as a base for your designs.
3. Brainstorm and Sketch Ideas
Start by brainstorming concepts and sketching rough ideas:
- Consider Helmet Shape: Take into account the contours and shape of your helmet when planning your design.
- Themes and Colors: Decide on themes (e.g., flames, tribal, abstract) and color schemes that reflect your personality or the intended use of the helmet.
- Experiment: Sketch multiple variations and explore different compositions and placements for your graphics.
4. Digital Design Process
If you’re creating a digital design, follow these steps:
- Start with the Template: Use the helmet template or create one based on measurements of your helmet.
- Outline the Design: Begin by outlining your design elements using basic shapes and lines.
- Add Details: Gradually add details like patterns, textures, logos, or text. Pay attention to how these elements interact with the helmet’s contours.
- Color Palette: Choose colors that complement each other and ensure visibility, especially if the helmet will be used in low-light conditions.
- Mockups: Create mockups to visualize how your design will look on the helmet from different angles.
5. Hand-Painting or Vinyl Wrapping
If you prefer a hands-on approach, consider hand-painting or vinyl wrapping your helmet:
- Prepare the Surface: Clean the helmet surface thoroughly to ensure the paint or vinyl adheres well.
- Masking and Stenciling: Use masking tape or stencils to create precise lines and shapes if painting by hand.
- Apply Paint or Vinyl: Use high-quality paints or vinyl wraps designed for use on helmets. Follow manufacturer instructions for application.
- Detailing: Add fine details and accents by hand if necessary, ensuring the design is cohesive and balanced.
6. Seal and Protect
Once your design is complete, protect it with a clear coat or sealant:
- Clear Coat Application: Apply a clear coat designed for helmets to protect the graphics from scratches and UV damage.
- Allow Drying Time: Let the clear coat dry completely according to manufacturer instructions before using the helmet.
7. Safety Considerations
Ensure your design doesn’t compromise the helmet’s safety features:
- Avoid Covering Safety Labels: Maintain visibility of certification labels and reflective elements.
- Use High-Visibility Colors: Incorporate reflective or high-visibility elements into your design if using the helmet for cycling or motorcycle riding.
8. Test and Adjust
Before finalizing your design, test it in various lighting conditions and angles:
- Check Visibility: Ensure your design remains visible and legible from a distance and in different lighting.
- Comfort Test: Consider how the graphics might affect ventilation or comfort, especially if adding layers of paint or vinyl.
9. Final Touches
Make any final adjustments and ensure you’re satisfied with the overall look:
- Review Feedback: Seek feedback from friends or fellow enthusiasts to get perspectives on your design.
- Document Your Process: Take photos of your helmet at different stages of the design process to document your creativity.
Conclusion
Designing helmet graphics allows you to showcase your creativity while personalizing your safety gear. Whether you opt for digital design tools or prefer a hands-on approach, follow these steps to create a design that not only looks great but also ensures your helmet remains safe and functional. Enjoy the process of customizing your helmet to reflect your style and passion for your chosen sport or activity.
Frequently Asked Questions (FAQ)
Q: Can I paint any helmet? A: It’s best to use helmets designed for customization, as they are often made with materials that accept paint or vinyl wraps more effectively.
Q: How do I protect my design from fading? A: Apply a UV-resistant clear coat or sealant after completing your design to protect it from sunlight and environmental damage.
Q: Can I remove a vinyl wrap once applied? A: Yes, vinyl wraps can typically be removed without damaging the helmet’s original finish, making them a versatile choice for customization.
Q: Do helmet designs affect helmet safety? A: While designs can personalize your helmet, ensure they do not obscure safety features like visibility or certification labels.
Q: How long does it take to design a helmet? A: Design time varies based on complexity. Simple designs may take a few hours, while intricate designs could take several days to plan and execute
